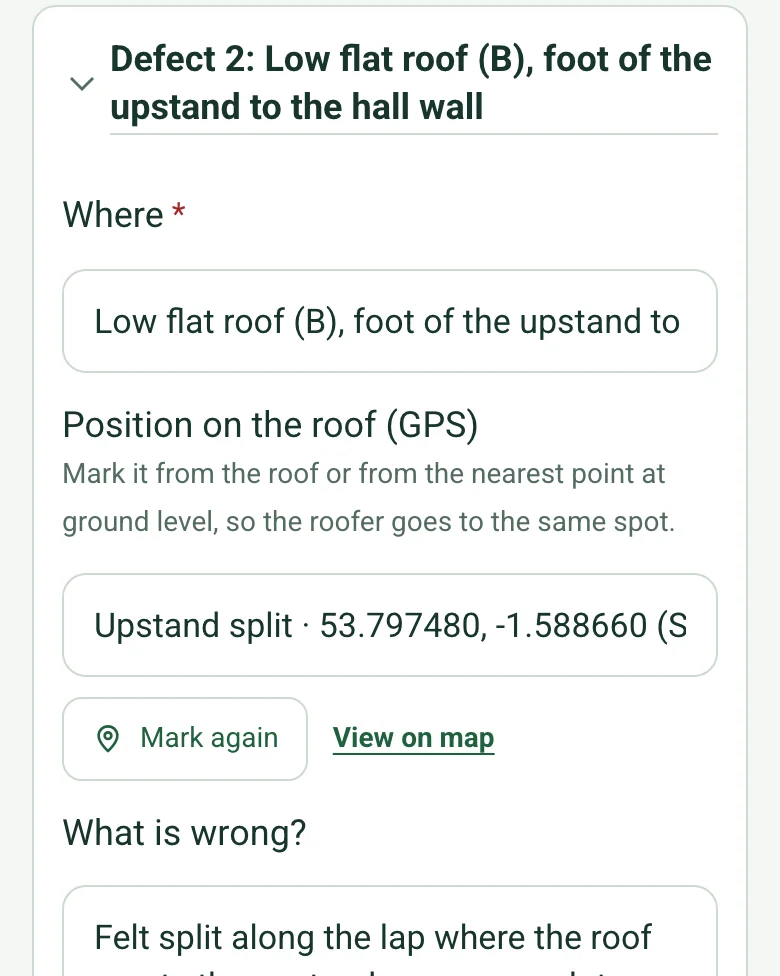
Pin each defect on the roof
Mark current location from the roof, or from the nearest point at ground level, so the roofer goes to the same split or outlet on a large flat roof.
How GPS location works →Form library · Housing and property
A roof inspection report form for pitched and flat roofs. Decide how the roof can be seen safely, record each slope or area with its covering, condition and defects, check the details where roofs usually leak, look inside the roof space, then list each repair with a priority, an estimated cost and photos. Every question is listed below, and you can fill the live form in on this page.
Ready to use from the form library, and every question is yours to edit. Try it for a small trial fee, cancel any time.
Try it on your phone
Try it on this phone
Fill in the roof inspection on your phone now
See how the roof inspection looks on your phone
Scan the code with your phone camera. It opens the real form, no sign-up needed.
Open the live example and fill it in, just as your team would on site. No sign-up needed.
See it on this phoneEvery question is editable. Add this form to your account, then change the wording, add or remove questions and options, and make it fit your own jobs.
A roof inspection checklist should record how the roof was inspected and what could not be seen, the covering and condition of each slope or area, and the details where leaks start: ridges, valleys, flashings, chimneys, verges, gutters, rooflights and penetrations. It should cover the roof space and ceilings for signs of water, then list each defect with a priority and a recommended repair.
Last updated . Facts checked by the SiteSurvey team on 5 October 2026 against HSE guidance on roof work and regulation 9 of the Work at Height Regulations 2005 (fragile surfaces).
Record each roof area and each defect on a phone: pin where the defect is, estimate its length from a photo, set a priority and a cost, and let the form count the urgent repairs and total the cost.
Mark current location from the roof, or from the nearest point at ground level, so the roofer goes to the same split or outlet on a large flat roof.
How GPS location works →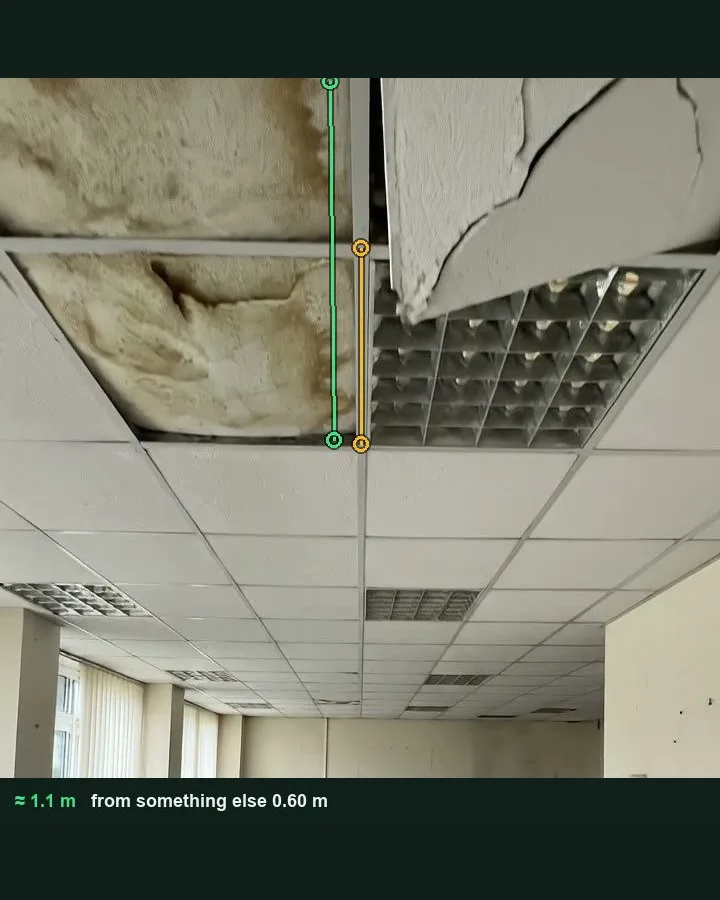
Estimate the length of a split, a stain or a run of slipped tiles from a photo, with a tile, a rooflight, a door or a person in the same plane as the reference. It works on web forms in any phone browser today, and the app version is on its way.
How measuring from a photo works →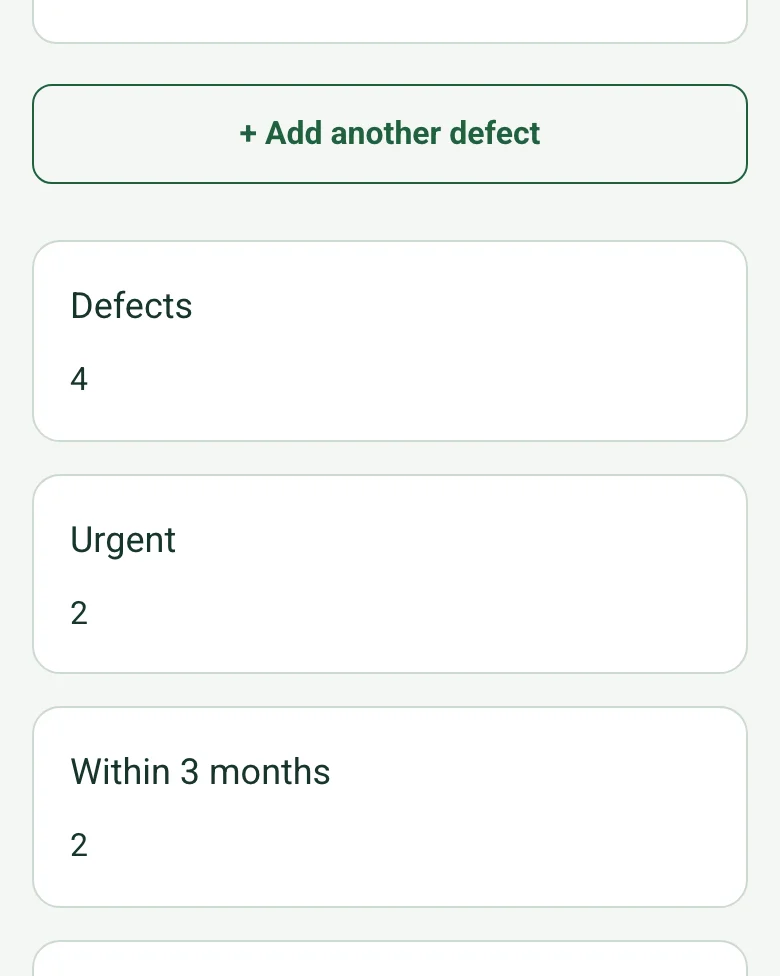
The form counts the areas in poor or failed condition, the details in poor condition, the defects, the urgent ones and those due within 3 months, and totals the estimated cost.
How calculated fields work →The form has a Walk Cam field. Record the coverings, the outlets and the gutters point by point from a safe position, and the stills go into the report.
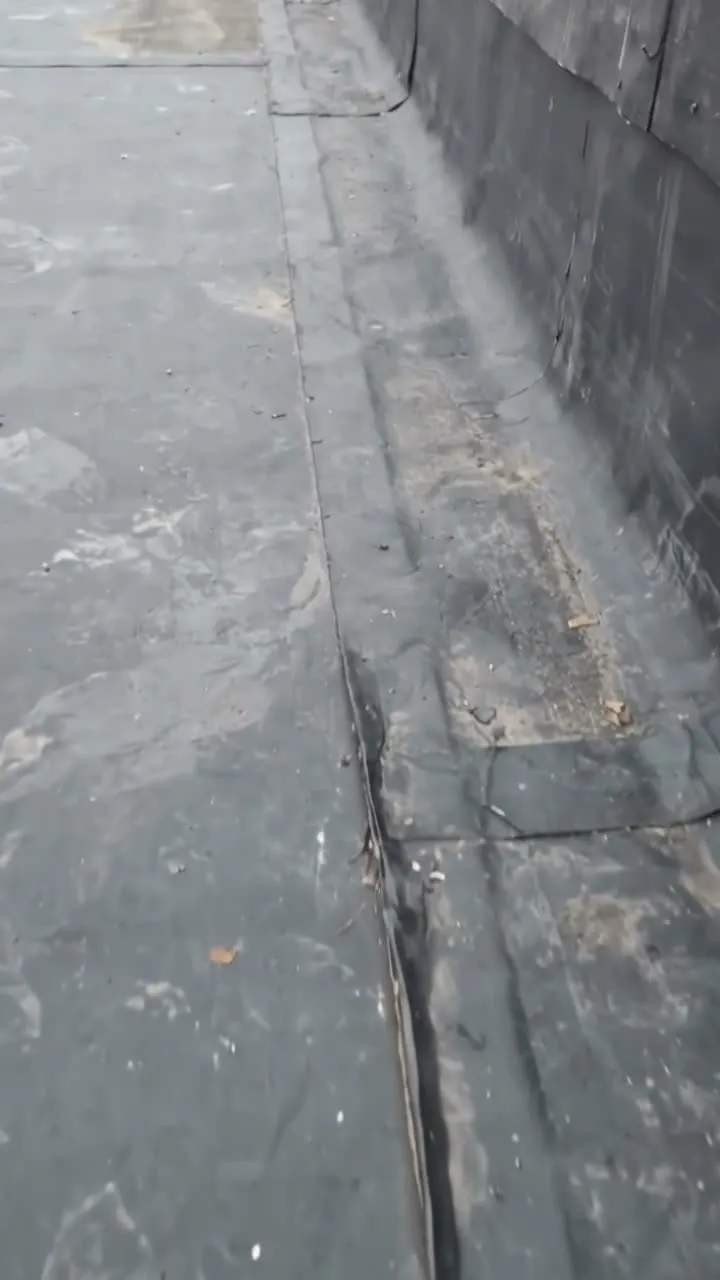
How Walk Cam works →A fictional community centre in Leeds after a leak into the office: two felt flat roofs and a tiled pitched roof, four defects pinned by GPS, two of them urgent, £1,190 in total.
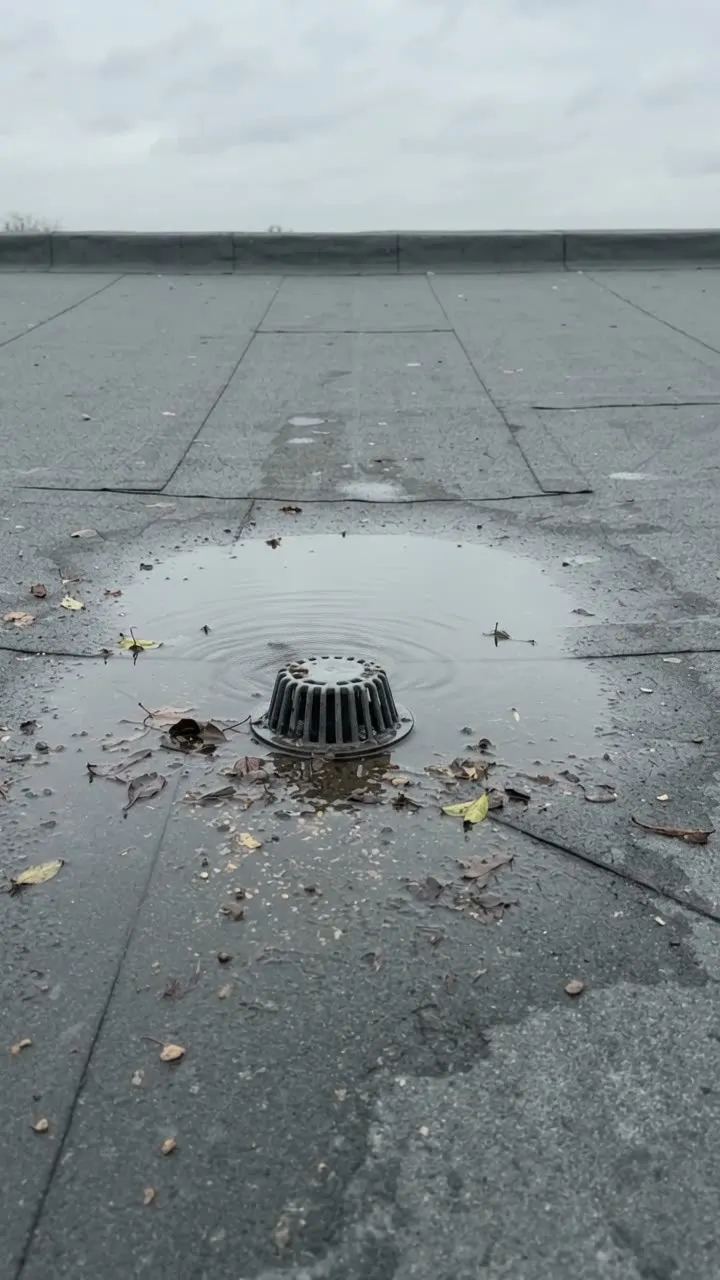
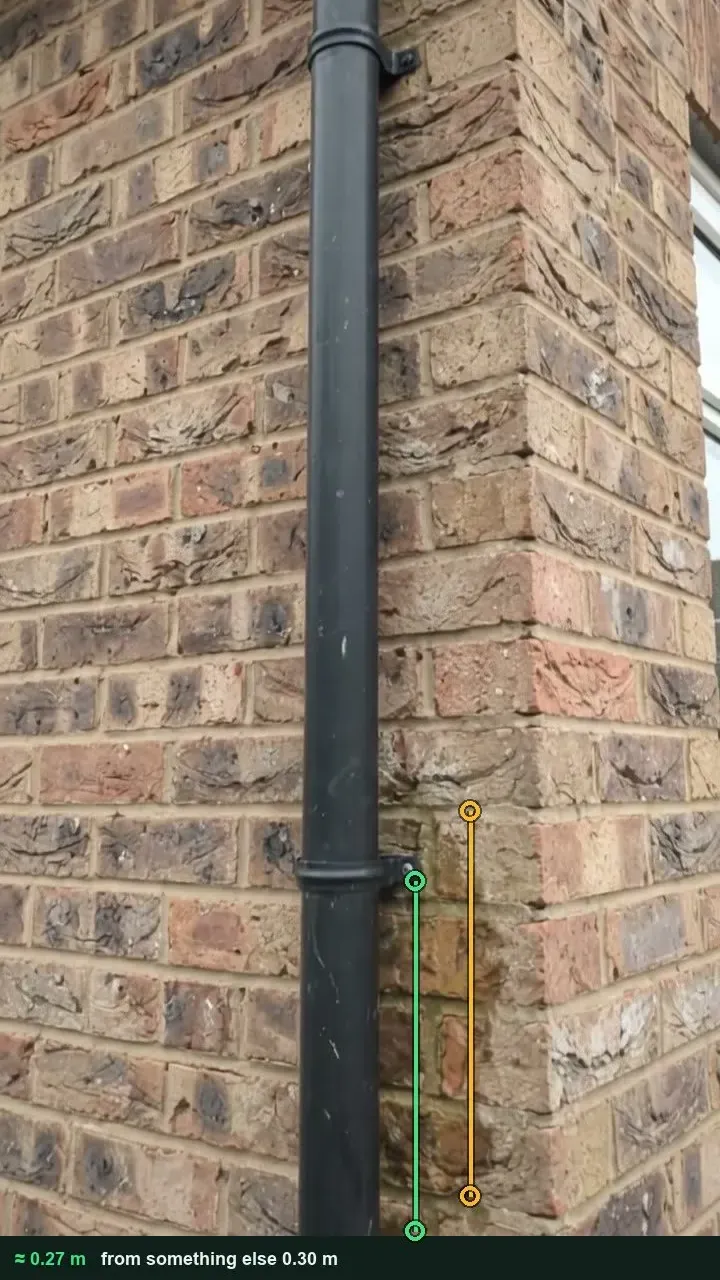
Answer a few questions and watch it adapt. Your answers are not saved, and any photos you add are deleted within the hour.
This is the real form as your team would use it: questions appear as you answer, scores work themselves out and you can add photos and signatures. No sign-up needed. Or open a completed example to see every answer, photo and score filled in.
Want to see one filled in? See a completed roof inspection report (PDF), made by SiteSurvey from a fictional site visit.
Walk Cam route · four guided clips
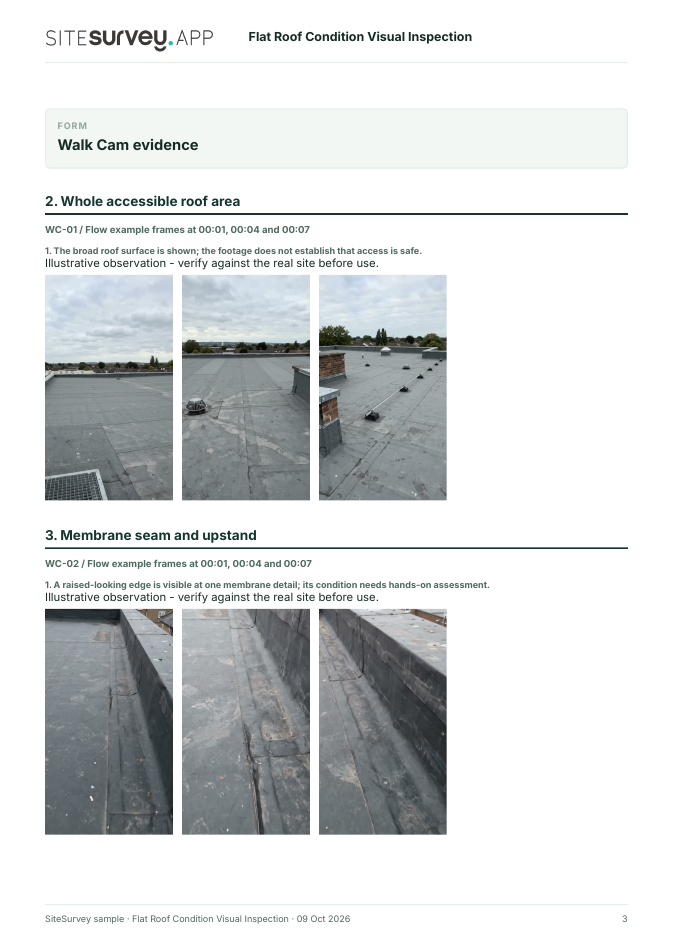
Keep each roof observation in context. Film the overall surface, then show a membrane detail, outlet and edge feature for a qualified follow-up.
Identify the roof area, access point and weather conditions. Record from a safe, authorised position only. Film a wide surface view, accessible upstand detail, drainage outlet and perimeter feature.
Show the roof zone, any access protection and visible surface from a safe authorised position. Record any area not accessible.
The broad roof surface is shown; the footage does not establish that access is safe.
Film the accessible seam and adjacent upstand in context without touching or lifting material.
A raised-looking edge is visible at one membrane detail; its condition needs hands-on assessment.
Show the outlet, surrounding surface and any visible water or debris, noting weather and recent rainfall.
Shallow standing water and small debris are visible near the outlet.
Frame the edge detail from within the protected area. Do not approach an unprotected edge for a close shot.
The parapet and one loose-looking trim section are visible from the protected area.
A fictional six-page example with the four points, twelve stills from the clips, observations, follow-up actions and the limits of a visual record.
View the visual evidence (PDF) ↗ · Download the full sample report
Footage cannot prove waterproofing, membrane adhesion, structural integrity or whether a roof is safe to walk on. Treat roof surfaces as fragile unless competent advice confirms otherwise; do not access a roof for filming without a safe system of work. Example footage was generated in Google Flow and the observations are scripted; no real site is shown. Walk Cam works inside any form in the app. How Walk Cam works · All visual inspections
For teams
Paper or a spreadsheet works for the odd job. When your team does this every week, SiteSurvey keeps every visit in one place and turns each one into a report you can send.
Your team completes the roof inspection on site in the SiteSurvey app on iPhone, iPad and Android phones and tablets. The project name and address fill in for them, it works without signal, and it syncs when the device is back online with photos kept against the question they answer.
Customers and subcontractors do not need the app: send them a link and they can fill it in from any browser.
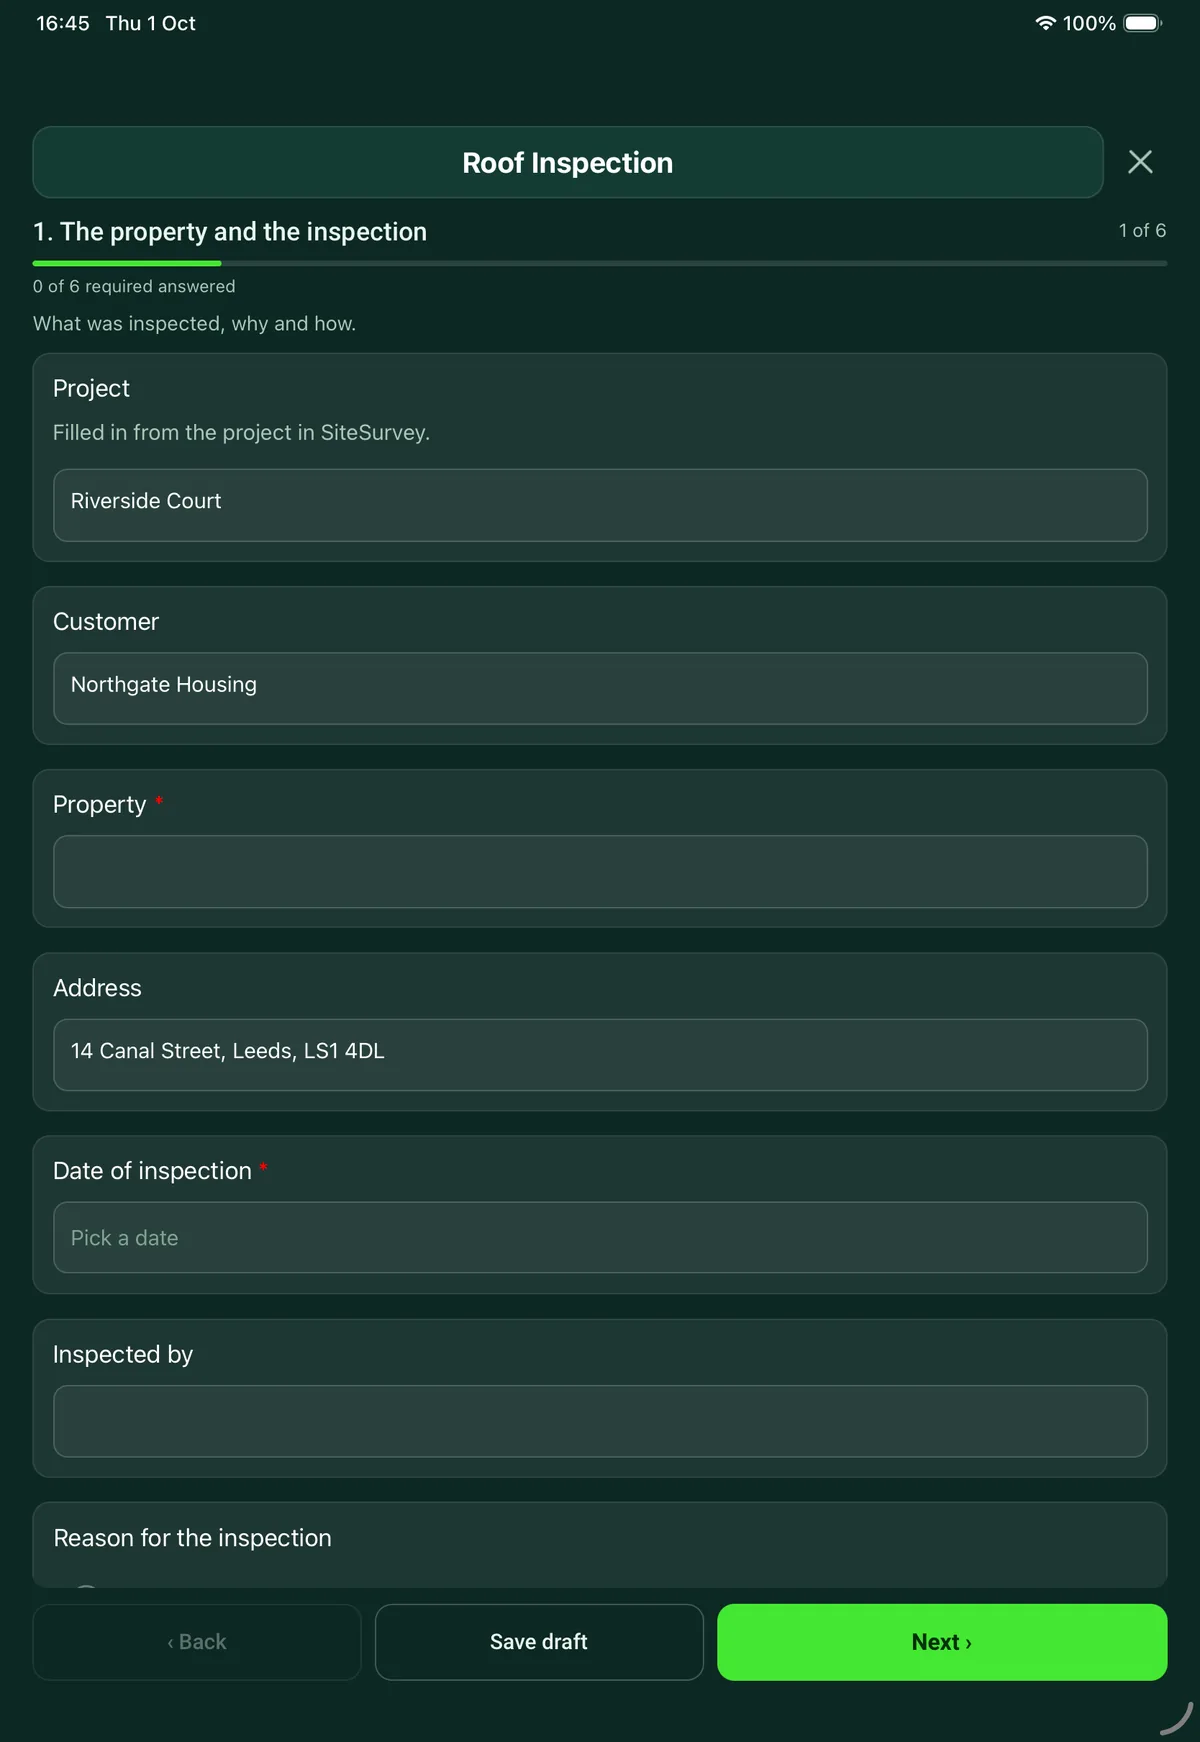
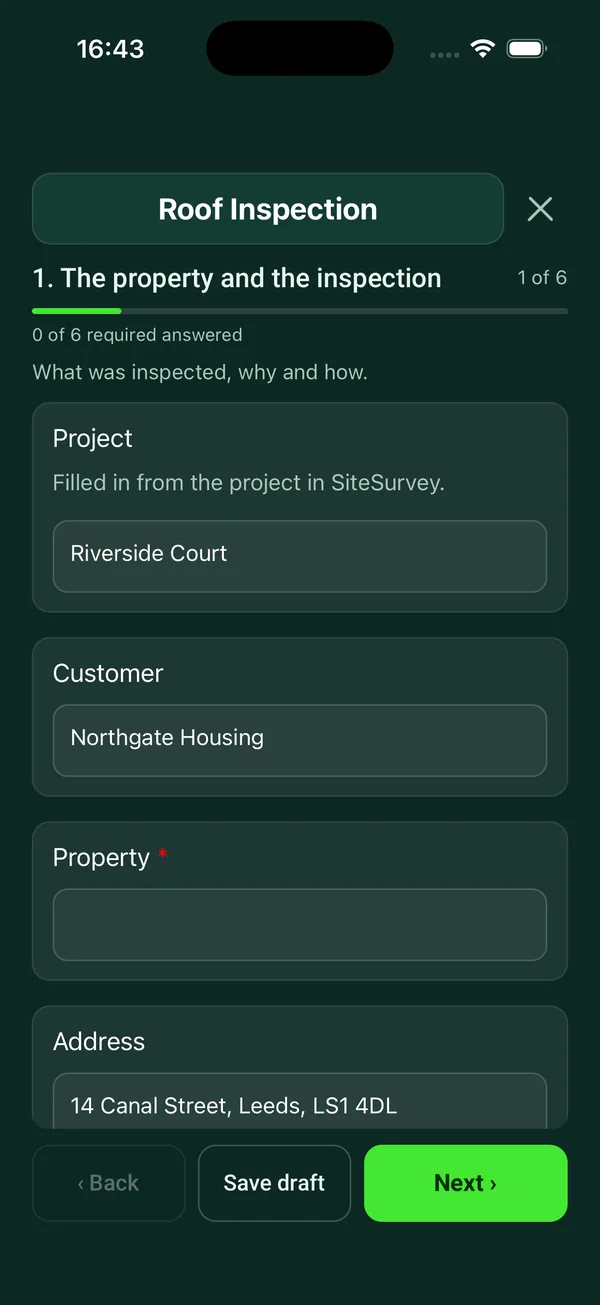
Roof inspection report: safe access, coverings by area, flashings, chimneys, gutters and rooflights, the roof space, defects with priorities, costs and photos. 6 sections and 68 questions. Follow-up questions and guidance appear only when an answer calls for them, so the person on site never sees the ones that do not apply.
This is a starting point, not a fixed form. Once it is in your SiteSurvey account you can reword any question, add or remove questions, sections and answer options, and add your own logo, so it fits the way your team works and the jobs you do.
Add this form to a project in SiteSurvey and it fills in what the project already knows, so nobody on site retypes it and every form on the job uses the same names. Anything filled in can still be changed.
What was inspected, why and how.
Filled in from the project in SiteSurvey.
Decide how you will see the roof before you go near it.
For example the deck type checked from below.
A reader needs to know which slopes, areas or details the report does not cover.
One entry for each slope or roof area.
For example front slope, rear flat roof over the kitchen.
Optional. Film the four guided points on the SiteSurvey app; each clip keeps its spoken note.
The places roofs usually leak.
What the inside tells you.
One entry for each repair.
Mark it from the roof or from the nearest point at ground level, so the roofer goes to the same spot.
An estimate from a photo, using a tile, a slate, a rooflight or a person in the same plane as the reference.
Set by the building owner or the inspector. Inspect again after severe weather.
A completed roof inspection report, made by SiteSurvey from a fictional site visit: every answer, the photos, the guidance that applied and the sign-off, ready to send as a PDF.
HSE says all roofs should be treated as fragile until a competent person has confirmed they are not, and not to rely on any sheeted roof to bear a person's weight. Fragile rooflights are a particular hazard: some are hard to see and others may be hidden by paint. Regulation 9 of the Work at Height Regulations 2005 says no one at work should go on or near a fragile surface where the work can reasonably be done safely without it, so the form asks whether the roof is fragile first and offers inspection from the ground, a platform, a pole camera or drone, or the roof space.
Yes. Each slope or area has its own entry with the covering, from tiles and slates to felt, single ply membrane, asphalt, lead and metal or fibre cement sheet. Defects include slipped or missing tiles, ponding water, blisters, splits and open laps, corrosion and sagging.
Ridges and hips, valleys, flashings and leadwork, chimney stacks and pots, verges and eaves, fascias and soffits, gutters and downpipes, rooflights, parapets and copings, vents and other penetrations, and fixtures such as solar panels. Each is marked good, fair, poor or not applicable.
Yes, where it can be inspected: signs of water getting in, whether daylight is visible through the roof, the condition of the timbers, insulation depth, and ventilation and condensation. It also asks about stains on ceilings in the rooms below.
Each defect is marked urgent (make safe or watertight now), within 3 months, within 12 months or monitor, with a recommended repair, an estimated cost and photos. The form counts the defects and the urgent ones and adds up the estimated cost. The priority bands are the form's own.
Yes. The form records how the roof was inspected and asks what could not be seen and why, so a reader knows which slopes or details the report does not cover. An estimated remaining life can be recorded for each area.
Related templates
A gutter clearance report with before and after photos: access method, each elevation's length and blockage, downpipes flushed, defects found, recommendations and the customer's signature.
A chimney sweep and inspection record: appliance, fuel and flue, sweeping method, smoke test, condition checks, CO alarm, debris found, the next sweep date and the customer's signature.
A roof survey and measure for quoting: each slope with its covering, eaves and rafter lengths, area and pitch, ridges, hips, valleys and rainwater goods, access, fragile surfaces and asbestos.
Condition survey of a building: limits of inspection, element by element record, services and risks, further investigations.
Add it from the form library in one click, change any question, and every completed form becomes a branded PDF report.
Start your trial →