Adding products to the correct space creates a reliable relationship between every item and its physical location.
- 01
Open the project space
Choose the project, open Spaces and select the room or zone where the item belongs.
- 02
Select Add product
Open the product picker, choose one or more library products and select the project spaces that should receive them.
- 03
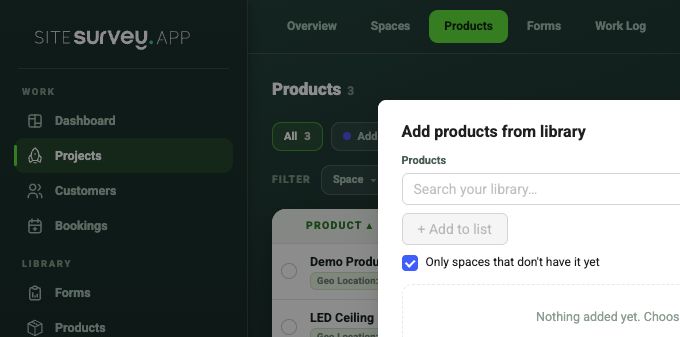
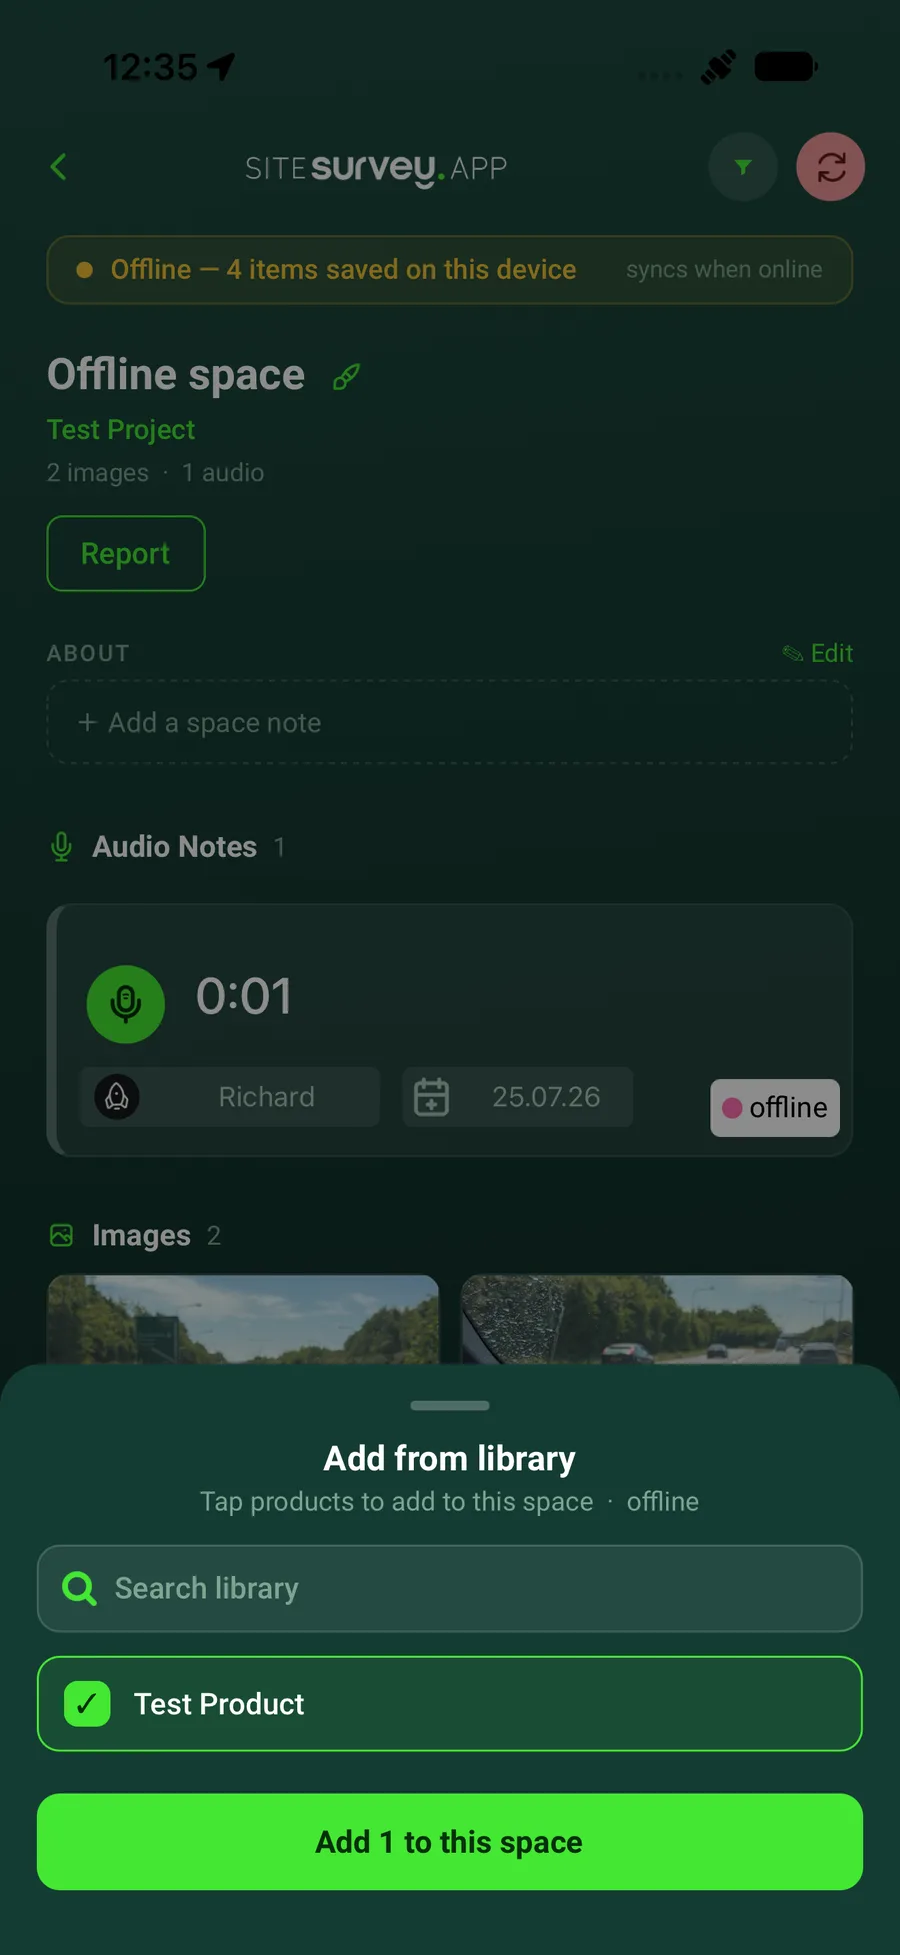
Choose from the library
Find the approved product and select it rather than creating a duplicate.
- 04
Set the quantity and details
Add the required number of items and any location-specific reference.
- 05
Review the space
Confirm every product appears under the correct room before field work begins.
Good to know
- ✓Add products before the visit when a design or equipment schedule is available.
- ✓Use separate records where identical products require unique serial numbers or test results.
Was this guide helpful?
Your feedback helps us improve support content.